-->

29 November 2017

My Favourite Winter Products So Far


I'm not really one for posh skincare or having lots of different products that do the same job. Saying this, there have been three main products that I have been using non stop this season; the balanceme Pure Skin Face Wash, Burt's Bees conditioning lip balm and the Lush Sleepy body lotion. 


So the first product I'm going to talk about it the balanceme Pure Skin Face Wash, which I received in the October Birchbox. Admittedly it has taken me a while to test this product out, but I'm glad that I did in the end and I haven't stopped using it since. The temperatures have definitely dropped in the last few weeks and my skin has suffered as a result. From using this face wash, I've seen results from day one.

I usually dampen my face with cold water and then massage this is all over my face. I try and make sure that I really work the key areas of my face like my T-zone, the grooves around my nose, behind my ears and down my neck. These are the areas that get particularly battered by the weather and where I blend my foundation in the most whenever I wear it. I then rinse it off using warm water and a flannel.

Because of the amount of water you use in the process, I find that it can feel quite drying, especially around my nose, so I just pat it dry with a cotton pad and then put some moisturiser on top to make the skin feel a bit more supple. Nevertheless, the product itself makes your skin super soft and I've noticed that my face has a healthier glow about it.


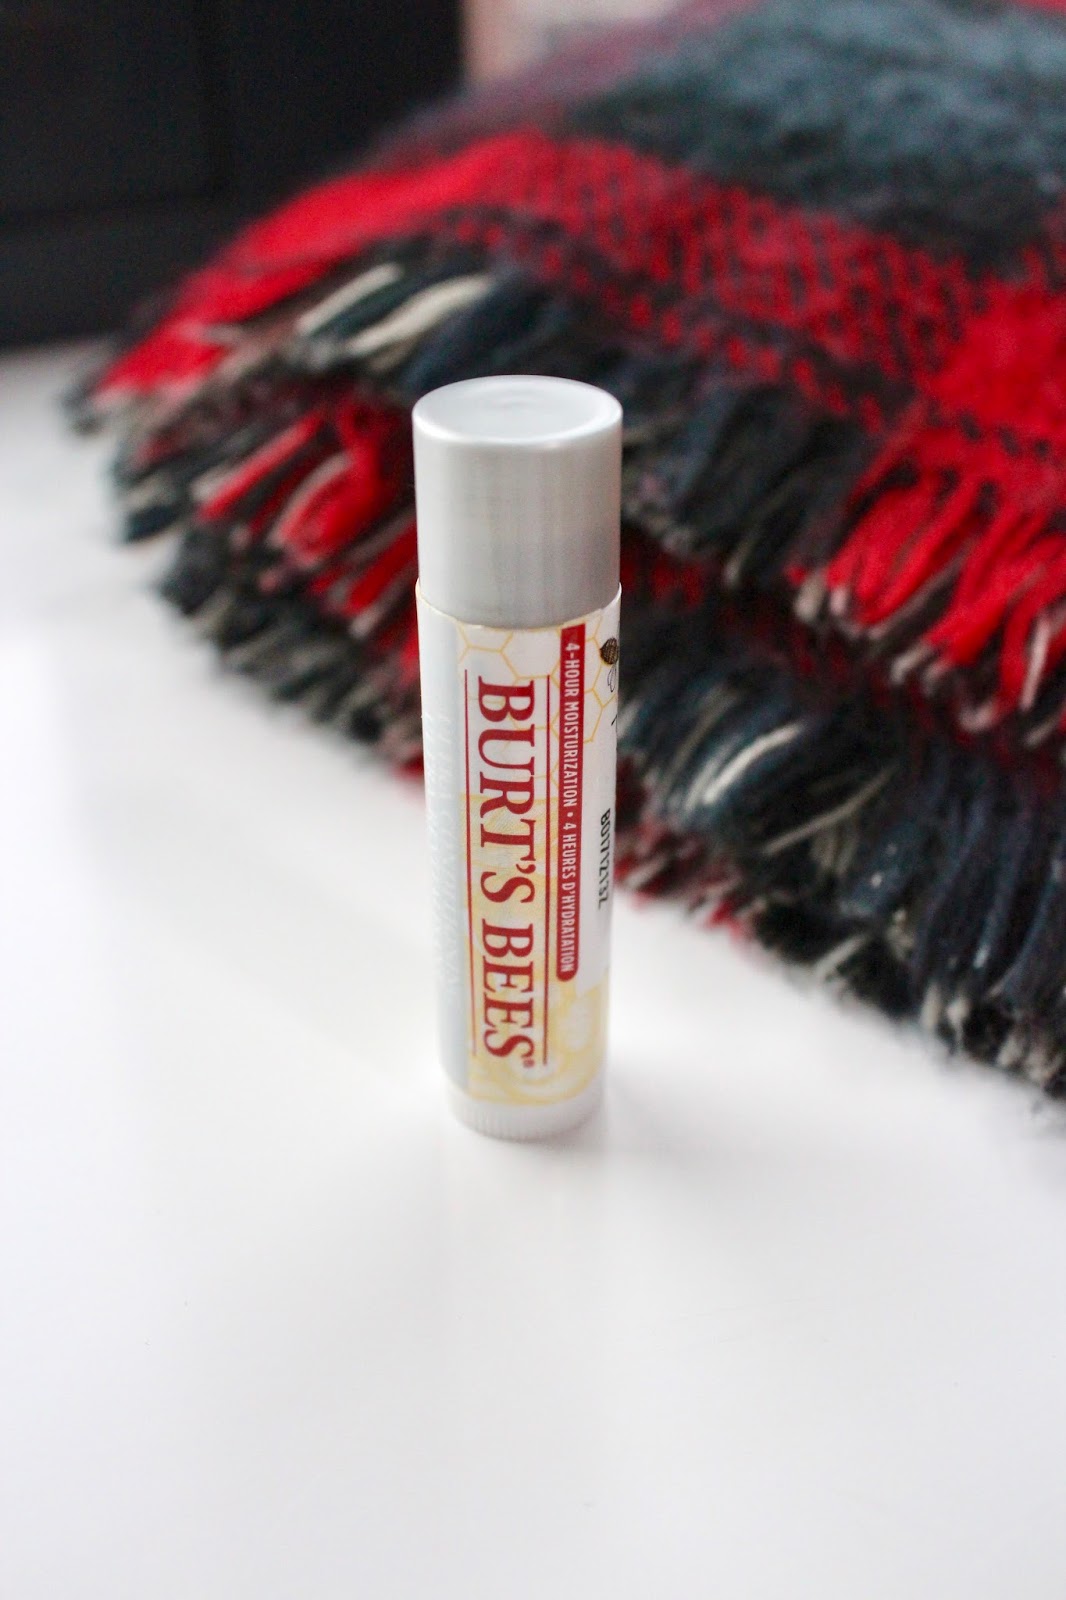
The second product that I have been loving recently is Burt's Bees conditioning lip balm. Before I brought this I had been using either Vaseline or the Nivea lip balms and they just weren't doing anything. I've heard rumours that brands use it as a way to make money, because the more you're applying the product, the more frequently it runs out and you have to buy more. I did a quick Google search and Burt's Bees was being recommended repeatedly. 

It was about £3/4 in Boots, but I was willing to pay it if it genuinely did the job. At first I wasn't really seeing much of a difference, but over the last couple of days I've really noticed that my lips are feeling less chapped and I'm not having to put it on as many times throughout the day.


My last product is the Lush Sleepy body lotion. My mum brought this for me when I went back home the other week as I haven't been sleeping properly, and now I use it every night. It's a light moisturiser, which spreads quite easily, so I just cover my legs and arms with a small amount, as well as my chest, and it doesn't feel sticky like some body lotions can. It's got a lavender scent so it can be quite empowering a first, and you will be able to smell it on your sheets for days, but I've gotten used to it.

I couldn't recommend these products more, especially during this time of year when the weather is making you feel shit both mentally and physically.

Georgia.xo

22 November 2017

Birchbox X Vogue


As a bit of a second year present, my mum brought me a Birchbox subscription. I've always loved beauty boxes -you might remember my Glossybox/product reviews when I first started the blog! My second Birchbox arrived last week, and from the box to the contents, I was so pleased with it.

The great thing about Birchbox is that the packaging is a key component of the experience too. Last month they used a purple and pink marbled pattern, whilst this month, the box hints the collaboration with Vogue. The Vogue logo covers each of the sides, including several letters on the top using a gold foil, and a red label against the white minimal box, giving a sense of class, which the Vogue brand associates itself with.


Like the October box, this month's box didn't fail to impress. I think each month has a selection of products, however each person's box is slightly different depending on the options you selected in the beauty profile when setting up an account. Within this month's box, I received:
  • Benefit Hoola bronzer
  • Percy & Reed Smoothed, Sealed & Sensational Volumising No Oil, Oil
  • James Read Overnight Tan Sleep Mask Tan Face
  • Seche Vite 
  • Birchbox brush cleanser 
I haven't trialled any of the products yet, but I'm very excited about trying some of them out. The Benefit Hoola bronzer, for example. This is a product which is very much a staple to the Benefit brand and I'm very aware of it but have never had the chance to try it - now I have no excuse! Hoola is a matte powder, which gives you a natural sun-kissed tan look, hence the beachy theme. It's also won a number of awards, which is why I'm so excited to use it. 

I'm also looking forward to using the Seche Vite, which is a fast drying top coat. My mum's a beauty therapist and when I told her there was a bottle of it in the box she gave it her approval, so it must be good. I'm always too impatient when I'm waiting for my nails to dry, and somehow manage to mess them up, so fast drying top coats are life savers. 


The Birchbox brush cleanser is also going to be a bit of a life saver because cleaning my brushes is always a mega chore; I'm sure you can all agree with me on that. I already own the Real Techniques Brush Cleansing Gel, which does my brushes wonders, but I still hate having to run it through my fingers and end up with wrinkled skin from having them under the water for so long whilst I rinse the brushes out. 

The two products that I haven't read in to yet are the Percy & Reed volumising oil and the James Read overnight fake tan mask. If the volumising oil does what it says on the tin then I'm all for it. Flat hair is one of my many struggles. I'm not 100% sure if I'm going to use the James Read fake tan mask though. I've never used fake tan; I've never really needed it, and even if I did attempt it I know I'd make a mess of it, so I'm definitely not going to do my first try on my face! 

So that was a brief look at what I got in my November Birchbox. What did you find in yours?

Georgia.xo

16 November 2017

Getting Creative


Over the past few weeks in FCP-land, we've been getting a bit creative. Each Friday for the last three weeks have been dedicated to learning a new skill and it's been a lot of fun.

First of all, we learnt how to do mono printing. This is a really easy process and all you need is:

  • Acrylic paint
  • A roller (or two)
  • Newspaper
  • A sheet of acetate 
  • A few A4 sheets of paper or a magazine 
  • A cutting mat and scalpel

We started by lying down some old paper, making sure that the table didn't get too messy, and then placed the acetate on top. Next, we chose our colour of paint and squirted a small amount onto the acetate, before spreading it across with the roller. 

As we were focusing on typography at the time, we cut out some stencils for our initials. This is completely up to you but a good starting point; however a magazine is also a good place to find different fonts and shapes. Once we'd got our stencil ready, we placed it down onto the paint, and then followed this by placing a sheet of paper (plain A4, a magazine page, or whatever you have) on top. You can either use another, clean, roller to make sure all of the paint gets in to contact with the paper or, like I did, just use your fingers. 

The final outcome looks really effective if you've used a sheet of paper that has something on it, like a magazine or newspaper. If you want to have the paint in the shape of the stencil, use a scalpel to cut out of the image, and place the surrounding paper on to the paint instead of the cut out. 

I loved doing this, because it doesn't matter if you get messy and things don't quite go to plan - it's all just experimenting! My favourite outcome is the 'YES' print, because the typography really stands out, as does the pink paint on the dark background. 
The next process we learnt about was the old-fashioned printing press, and we got to experiment, again, with our initials. The guys from Pop Press in Nottingham came in to talk to us and teach us how to do it. They were really informative and it was so interesting to learn that some of the letters have been around for hundreds of years. 

We pressed our letters on to the back of the business cards that the tutors had printed out for us. Therefore, this workshop acted as a first experiment towards making our own business cards for out self promotion project. 

Admittedly, this is my least favourite technique because it was one of those things that you kind of had to get right first time and there wasn't much space for messing up. 


Pop Press is located on St. James Street in Nottingham, NG1 6FG, and I think you can book letter press workshops. Their work is professional and so cool, and the process itself is very interesting - I'll link their website here
Our third and final workshop was book binding, where we learnt how to create booklets through different folding techniques and how to stitch a book together. 

It turns out that book binding isn't my forte, but once you get the hang of it, it is actually a simple process. We learnt the 'beak' technique and were also given instructions to the 'trouser' technique and a concertina-like technique, but unfortunately we ran out of time to have a go at these. 

We were advised to purchase a bone folder and if you're thinking of doing something like this, a bone folder is a must. It makes folding so SO much easier and creates a cleaner fold. You also must make sure that you have a proper bookbinding needle and thread, as they're thicker and a standard sewing needle and thread just won't make it through. 

Having a different workshop each week made the course a lot more fun, and even though the mono printing was my personal favourite (and definitely the easiest), I really want to carry on practising and experimenting with bookbinding. It's always good to have some different skills under your belt, and even if I don't make hand made books for the rest of my course, I like the idea of being able to make little notebooks for presents and friends and family! 

Georgia.xo

8 November 2017

How I Utilise My Instagram Saved Posts


When Instagram's 'save' feature was first introduced I was a bit sceptical, as I was with Instagram stories. We all know that Instagram's updates aren't exactly original, with the concept of stories being taken from Snapchat, the save option is pretty much a take on Pinterest.

But, like most things social media related, we adapt.

As FCP is quite a visual course, and we use Pinterest a hell of a lot, I've learnt how to really utilise the save option. Although Pinterest has a lot of images there in front of you at once (compared to Instagram, where you have one image per scroll) they're not all recent. Instagram, however, is in *ahem* real time (lets forget about this algorithm for the moment), meaning that the content is up to date, on trend, however you want to put it.

Source / Instagram / @makeupisart_x

Generally, I have more images saved on my personal account, because I've had this account for years compared to the few months I've had my FCP account for, so I've developed more of a feed and therefore am constantly seeing new images. Despite this, a lot of my images I save on my personal inspire my FCP content and ideas, so they kind of work hand in hand.


When you first see your saved images, they're in chronological order of when you saved them. They're also laid out in the 3 column gird, making it easier to see, much like Pinterest. I hate viewing it this way. It all just looks so muddled. Which leads me on to 'Collections'.

Collections makes it easier to categorise your images once you've collected them, like a Pinterest mood board. This makes it so much easier to find what you're looking for and is a more organised approach to those who, like me, don't like clutter.


Each collection provides a different category of inspiration. For example, I have a 'Self Promotion' collection, where I can chuck anything that I can relate to my Self Promotion brief for this term. I can then go on and analyse my images.

Collect, categorise, analyse...


So that's how I utilise my Instagram saved posts. I understand how similar this update is to the concept of Pinterest, but I spend a lot more time on Instagram than I do on Pinterest, so it kind of made sense to make the most of it. It's also a great, quick tool to gain some inspiration when I'm not feeling incredibly creative.

What does your saved list look like?

Georgia.xo