


Today me and Harry thought we'd spend the day doing something a little different making our own Christmas cards. I really wanted to do a Christmas DIY this year and it kind of made sense to make my own rather than spending more on already made cards. I don't know if I'm the only one who feels this way, but it feels like you mean it a bit more when you give someone something homemade, doesn't it?
These were really easy to make once we'd got our heads around how we'd go about it, because we'd already got inspiration from these I found on Pinterest.
You will need...
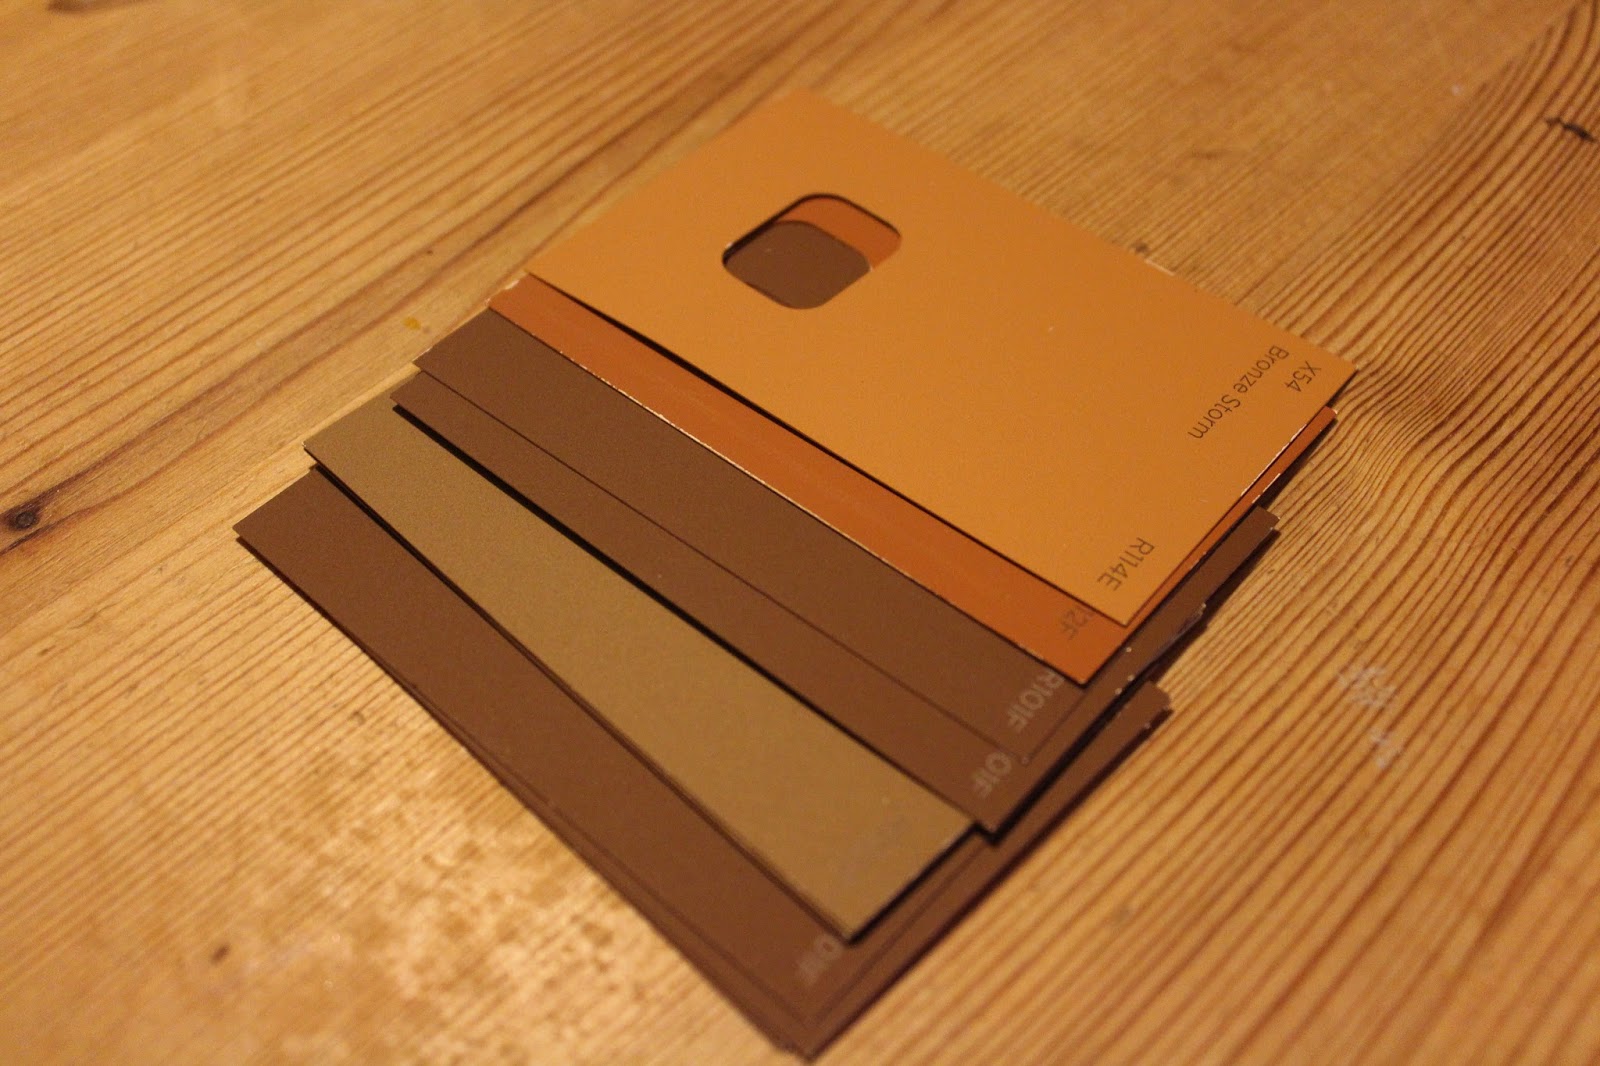
- Paint samples
- Card
- Envelopes
- Glue or double sided tape
- Scissors
Instructions
- Choose your colours. Unfortunately we couldn't find any strips with multiple colour samples so we had to settle with singular samples, but it's just as easy to get the different shades.
- Using a separate piece of card, draw out a stencil. Remember, if you're using separate samples like we had to, include a small gap to split each third.
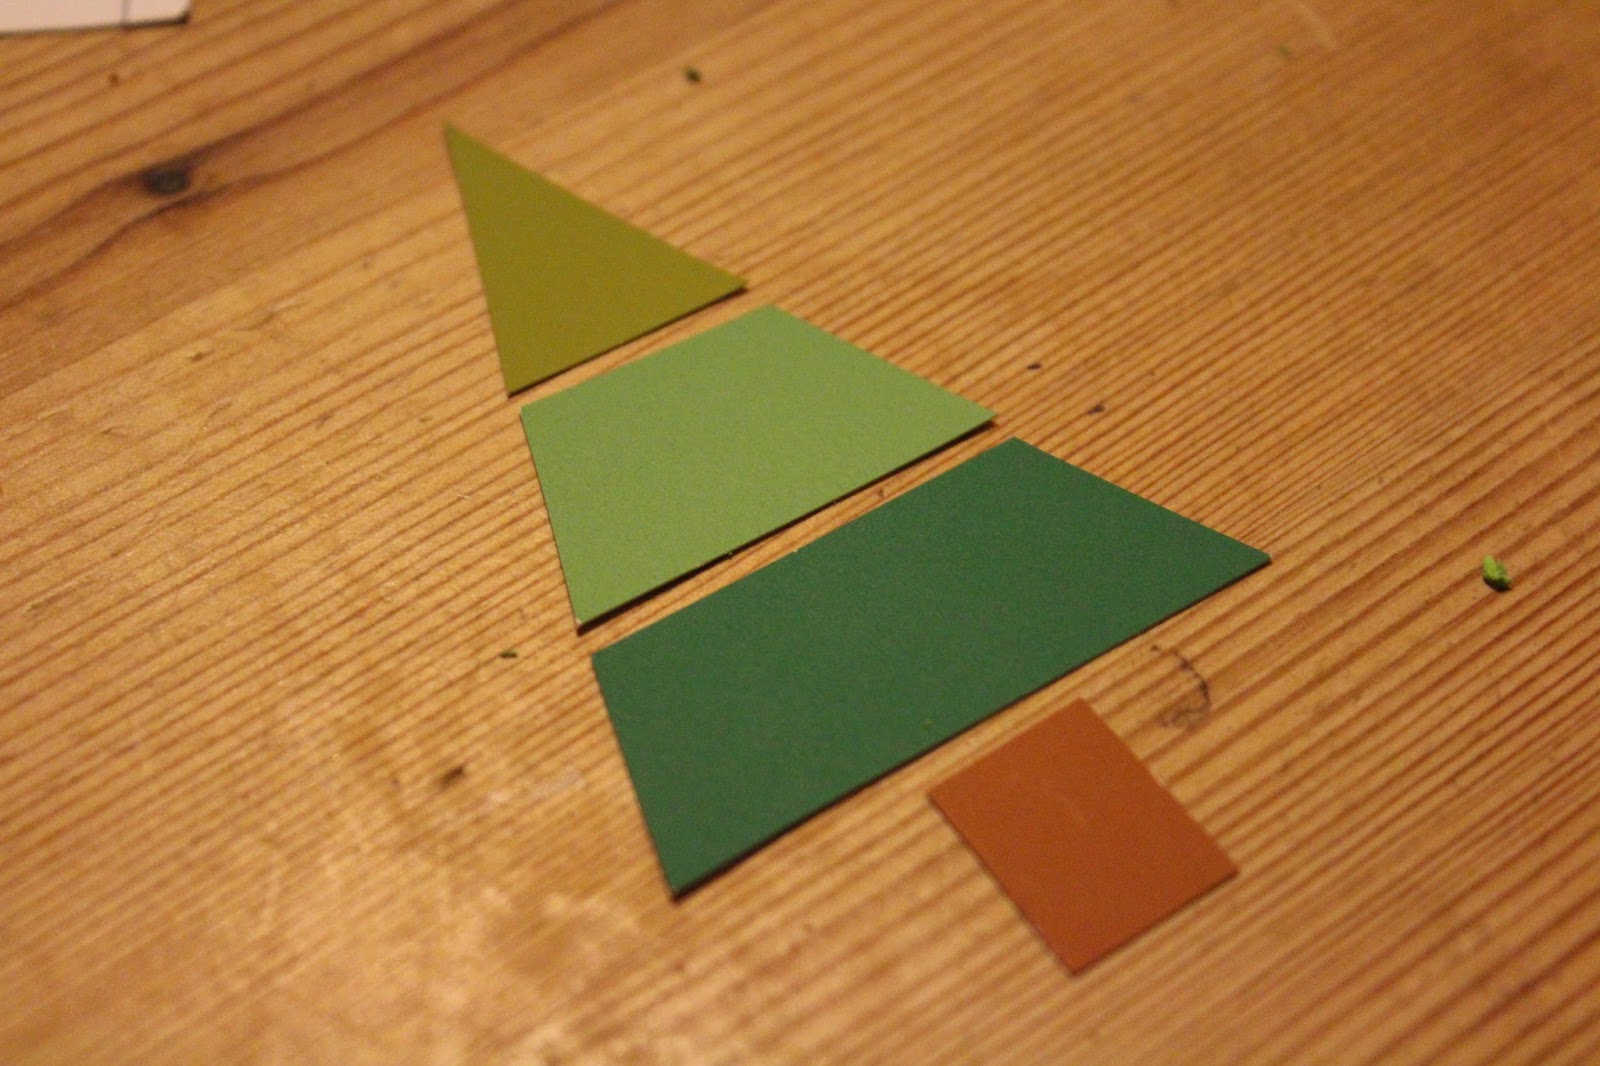
- If you're using separate samples cut the individual sections out and draw around them on to the samples. Otherwise just cut the tree and stalk sections out and draw around them onto the samples likewise.
- Cut the shapes out.
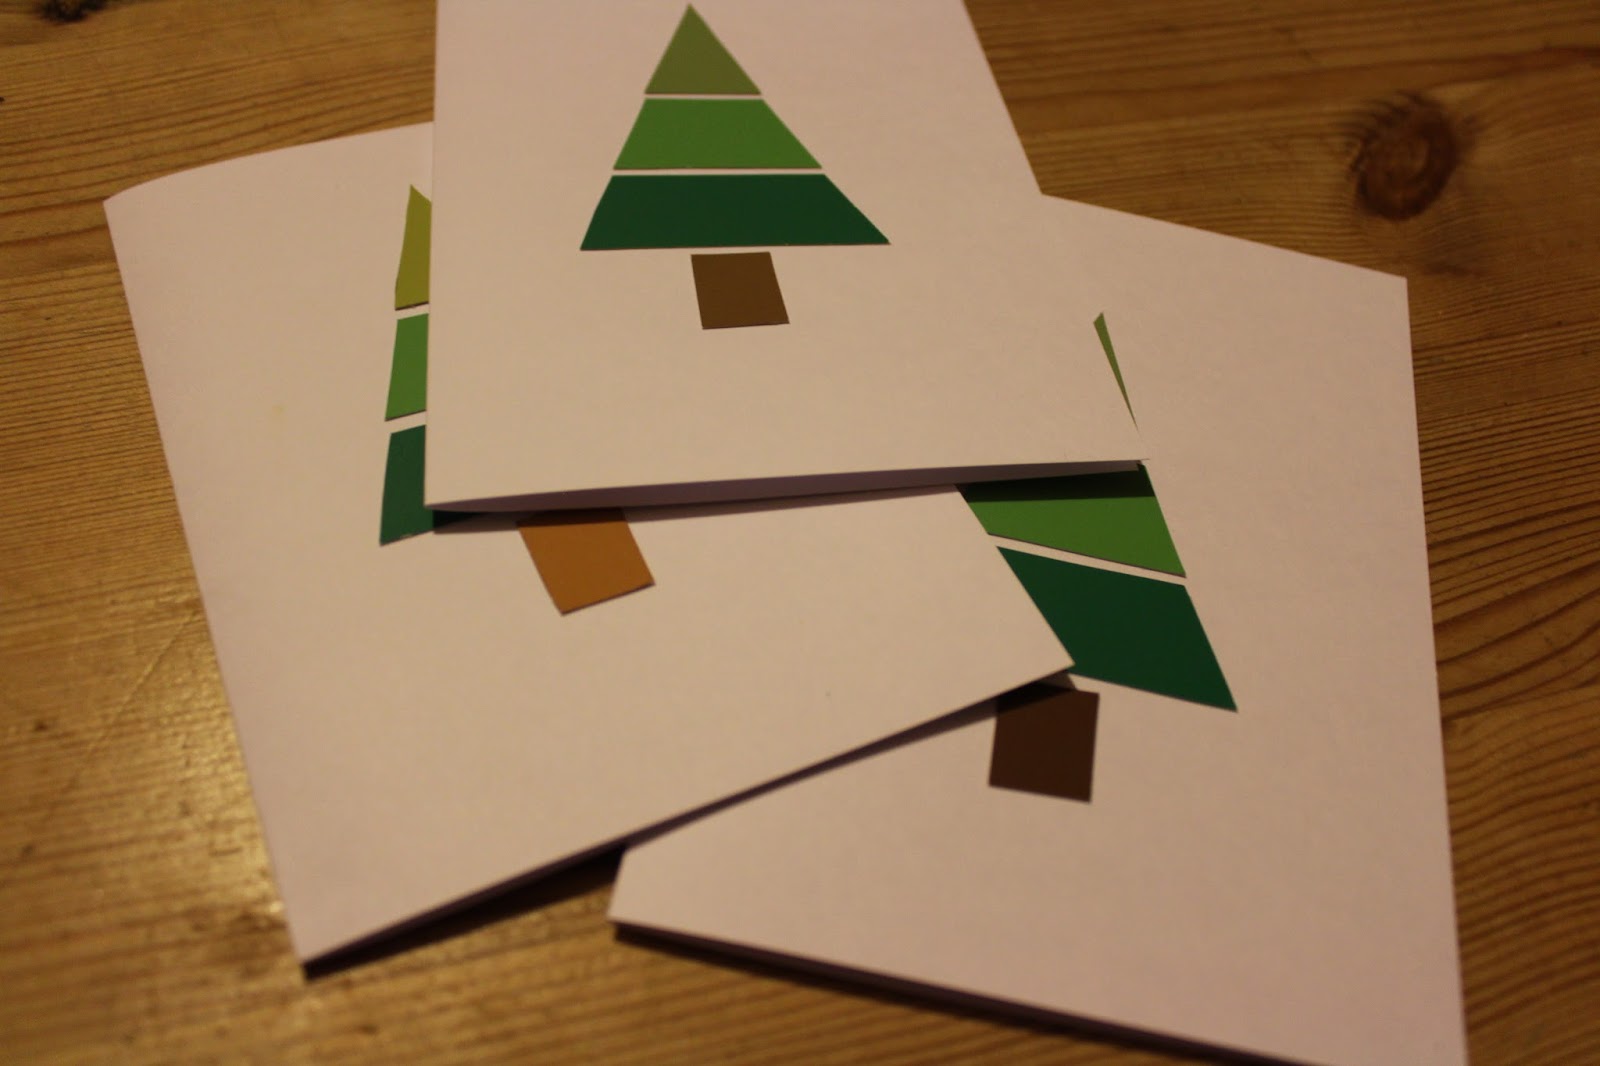
- Fold your card in half (or don't, as we found ready made plain cards at Sainsbury's).
- Lay the shapes out to work out where you're going to stick them.
- Stick them down and voila!
Georgia.xo
No comments:
Post a Comment